Submitted by
Categories: [Carving and Sculpting]
Get photos or study pictures of costuming you want to use.
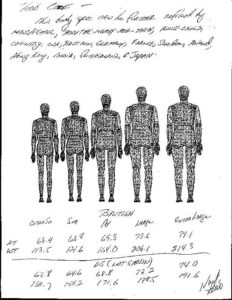
Sketch a stick figure to scale, showing accurate placement of all joints. I refer to a sheet showing accurate proportions for the human figure that I scale for this purpose.
Make a wire skeleton based on the stick figure. Leave little wire extensions sticking out of bottom of the feet for mounting. Do the same for hands, or anything else that will be in contact with the boat when mounted. Twist together several strands of wire to stiffen the skeleton. The stiffer the skeleton is, the easier it is to work with.
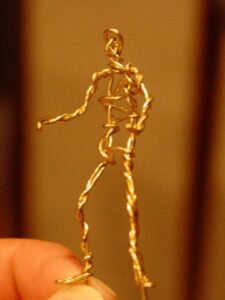
Bend the wire figure to the posture that you want, taking care to bend at the scale location of joints.
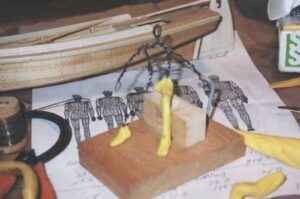
Decide on amount of detail you can/will include. The larger the scale, the more detail will be needed. Facial distinctions and expressions can be worked into figures at 1:32 and larger - more difficult for smaller scales. The smallest I have done are 1:96. They are still believable if you pay close attention to proportion.
Mount the figure to a wooden base by drilling holes to the diameter of the wire left exposed. If the figure will be sitting on something or holding something, dummy-up a prop to the same size as the model. Having the model attached to the base is necessary so you can hold the work and so you don't have to finger the clay parts that are finished.
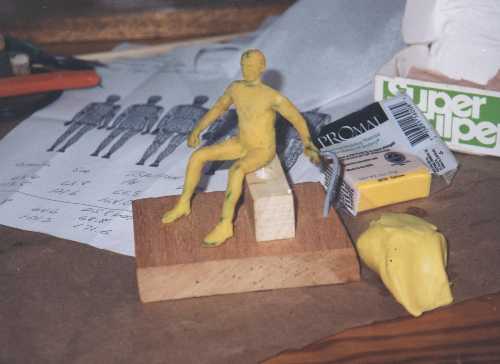
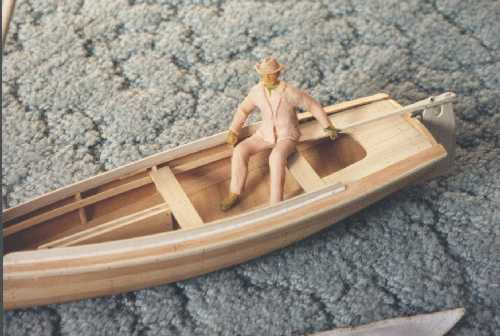
For larger figures, work modeling substance on to the skeleton as musculature. I use Super Sculpey - available at craft and art supply stores, such as Paul's and Michael's. You can work features on the face after the rest of body is formed. For smaller scales, the figure, complete with clothing is done as one step. Save facial detailing until last. Working the Sculpey into the shape and character that I want is done by practice and experimenting - I haven't found a cook book way of doing this. It is a somewhat spiritual experience when it comes out right. I have the same feeling when I do water colors.
I start covering the skeleton from the feet and work- upward. I seem to have trouble getting the Sculpey to stick to the wire frame, but after working it a while, it does. It helps to periodically moisten your finger tips or tools you are using so the Sculpey doesn't stick to them.
For lager figures, roll out clothing material as thin as you can work with, and cut sections of the garments to shape, adding detail after the garments are attached. I use small flat toothpicks, cuticle sticks, knife points or anything else that will do what I want. A lot of the larger work is done with my fingers. When attaching the garment pieces, try to let it hang in natural folds and creases.
I attach buttons, belts, straps after the clothing is in place. Make pieces of equipment such as rifles, swords, etc., from wood and/or metal and attach after the Sculpey has been baked. I use 5 minute epoxy for this.
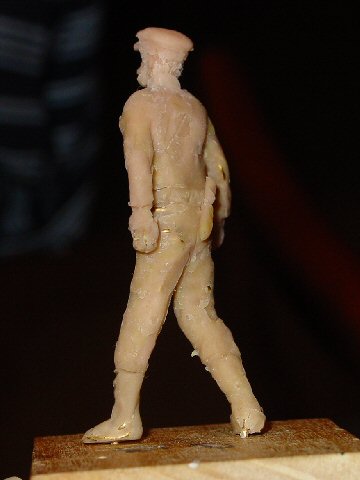
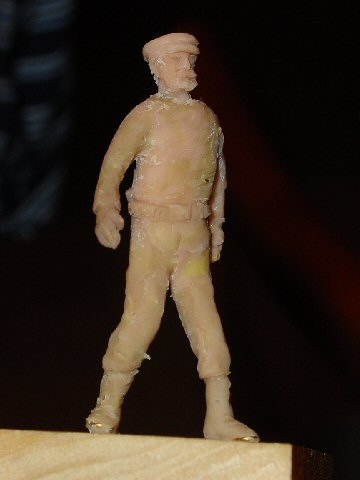
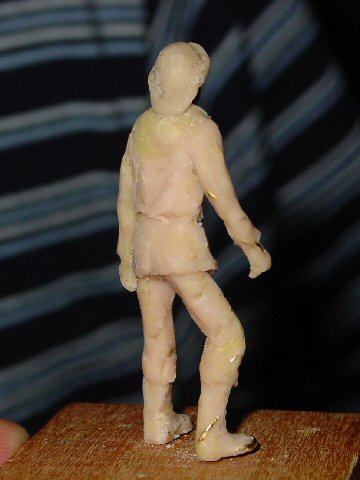
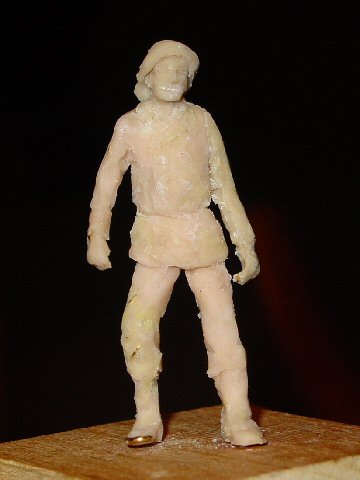
The Sculpey is baked in an ordinary oven at around 275° F for 10-20 minutes. Let it stand for at least an hour afterward before you sand, scrape or otherwise work on it. They warn that you shouldn't do large quantities without adequate ventilation. I don't think the small quantities used in making one or two figures is a matter of concern.
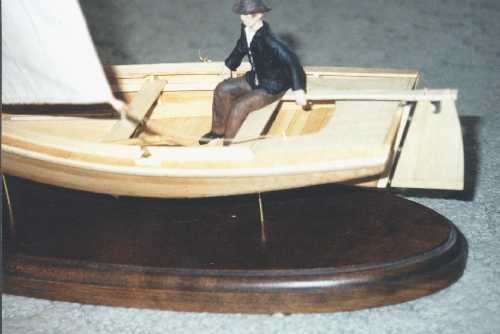
Paint your figures and mount in your model. I usually mount the figures on a model by drilling holes to match the floor pegs and epoxy them in place. If you don't want to make a permanent attachment, mount the model on a thin piece of wood conforming to the location where it will stand.
Manufacturer's Info on Super Sculpy
Super Sculpy is a product of Polyform Products Co.
1901 Estes Ave, Elk Grove Village, IL 60007
https://www.sculpey.com
Super Sculpy is a polymer modeling compound, beige in color, used for finiched art, prototypes and dollmaking. It is waterproof, shatter and chip resistant, and has a ceramic-like finish after baking. Store in a very cool place.
Directions:
- Knead until soft and smooth
- After shaping, bake on a non-metallic surface such as oven-proof glass
- Bake at 275°F for 15 minutes per quarter inch of thickness. Do not under bake.
